Scratch that, it isn't about them at all, but it's my blog and I wanted to post it anyway, so there.
Ahem. Anywho, this weekend I started working on constructing my first ever cosplay costume. I'm making it for halloween, but the plan is to be able to use it for cons as well.
I'll be going as the Imperator Furiosa, the badass heroine from "Mad Max: Fury Road."
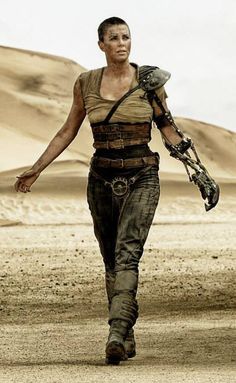
I really loved this character, and her costume is pretty fantastic, but still seemed achievable.
For the clothing, I found some brown pants at a thrift store that I plan on taking in a bit to make them more fitted. I'll also be cutting slits in them in the pattern you see above and wearing black tights underneath. For the shirt, I found this on amazon. You can click the link to buy it if you want. It isn't exact, but it is the closest I could find in my price range.

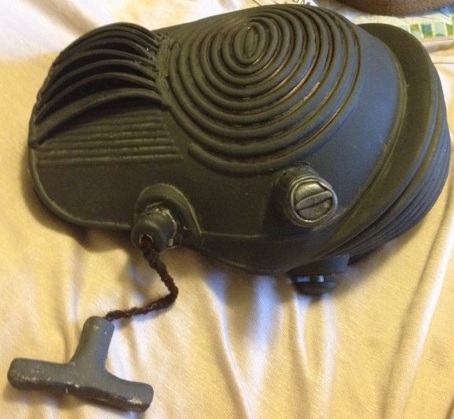
I also found these goggles, which were nice and cheap, but basically the same shape as the ones she wears in the movie.

I grunged mine up a bit and added some rivets to them. I'm planning on replacing the strap with something resembling leather, as it is a bit too new looking.

I ordered this infinity scarf which should be arriving today. The post describes it as "grunge," so I'm hoping I won't have to do anything to it. At most, I'll wash it a bunch to fade it, or maybe add a patch or two to make it look "well loved"

Now on to the fun stuff...first up, the belt buckle! I made this from scratch out of Crayola Model Magic air dry clay. It was my first time playing with the stuff, and I have to say I'm impressed! The trick definitely seems to be that it sticks to itself better when it is warm. so, rolling a little piece around between your palms before sticking it on seems to make a difference. It takes paint nicely, and is super lightweight when it dries. the only problem I really ran into is making sure not to squish the pieces accidentally while they were drying.


they were kinda gnarly and greasy when I got them, so I gave them a good scrub down with some dish soap before painting them. I also removed some of the connection points for the straps that they came with, as i didn't need them.

The fingers for the robot hand were made with craft foam and hot glue, with model magic rivets added on.


Still left to do are the rest of the arm, the quilted pad for the prosthetic, the belts to attach everything, and the corset. I'm also going to figure out how to do the scar below with liquid latex so that I can reuse it for the different cons without having to redo it every time.

I'll post more updates as I make progress!